Easy baking recipes even terrible cooks can’t get wrong
Genevieve Ko shares easy, streamlined recipes, like handmade crisps and cookies, so you can feed your loved ones (and yourself) effortlessly
Sign up to IndyEat's free newsletter for weekly recipes, foodie features and cookbook releases
Get our food and drink newsletter for free
The first time I made cookies on my own (peanut butter, at age eight), I knew I wanted to keep baking. I just had to figure out how.
Neither of my parents baked, so we didn’t have a mixer or cookbooks or cake pans. My only guide was one of my favourite aunts – everyone’s favourite aunt – who seemed to have a tin of blueberry muffins, crackly, tender and steaming, in her oven-mitted hands every morning we visited.
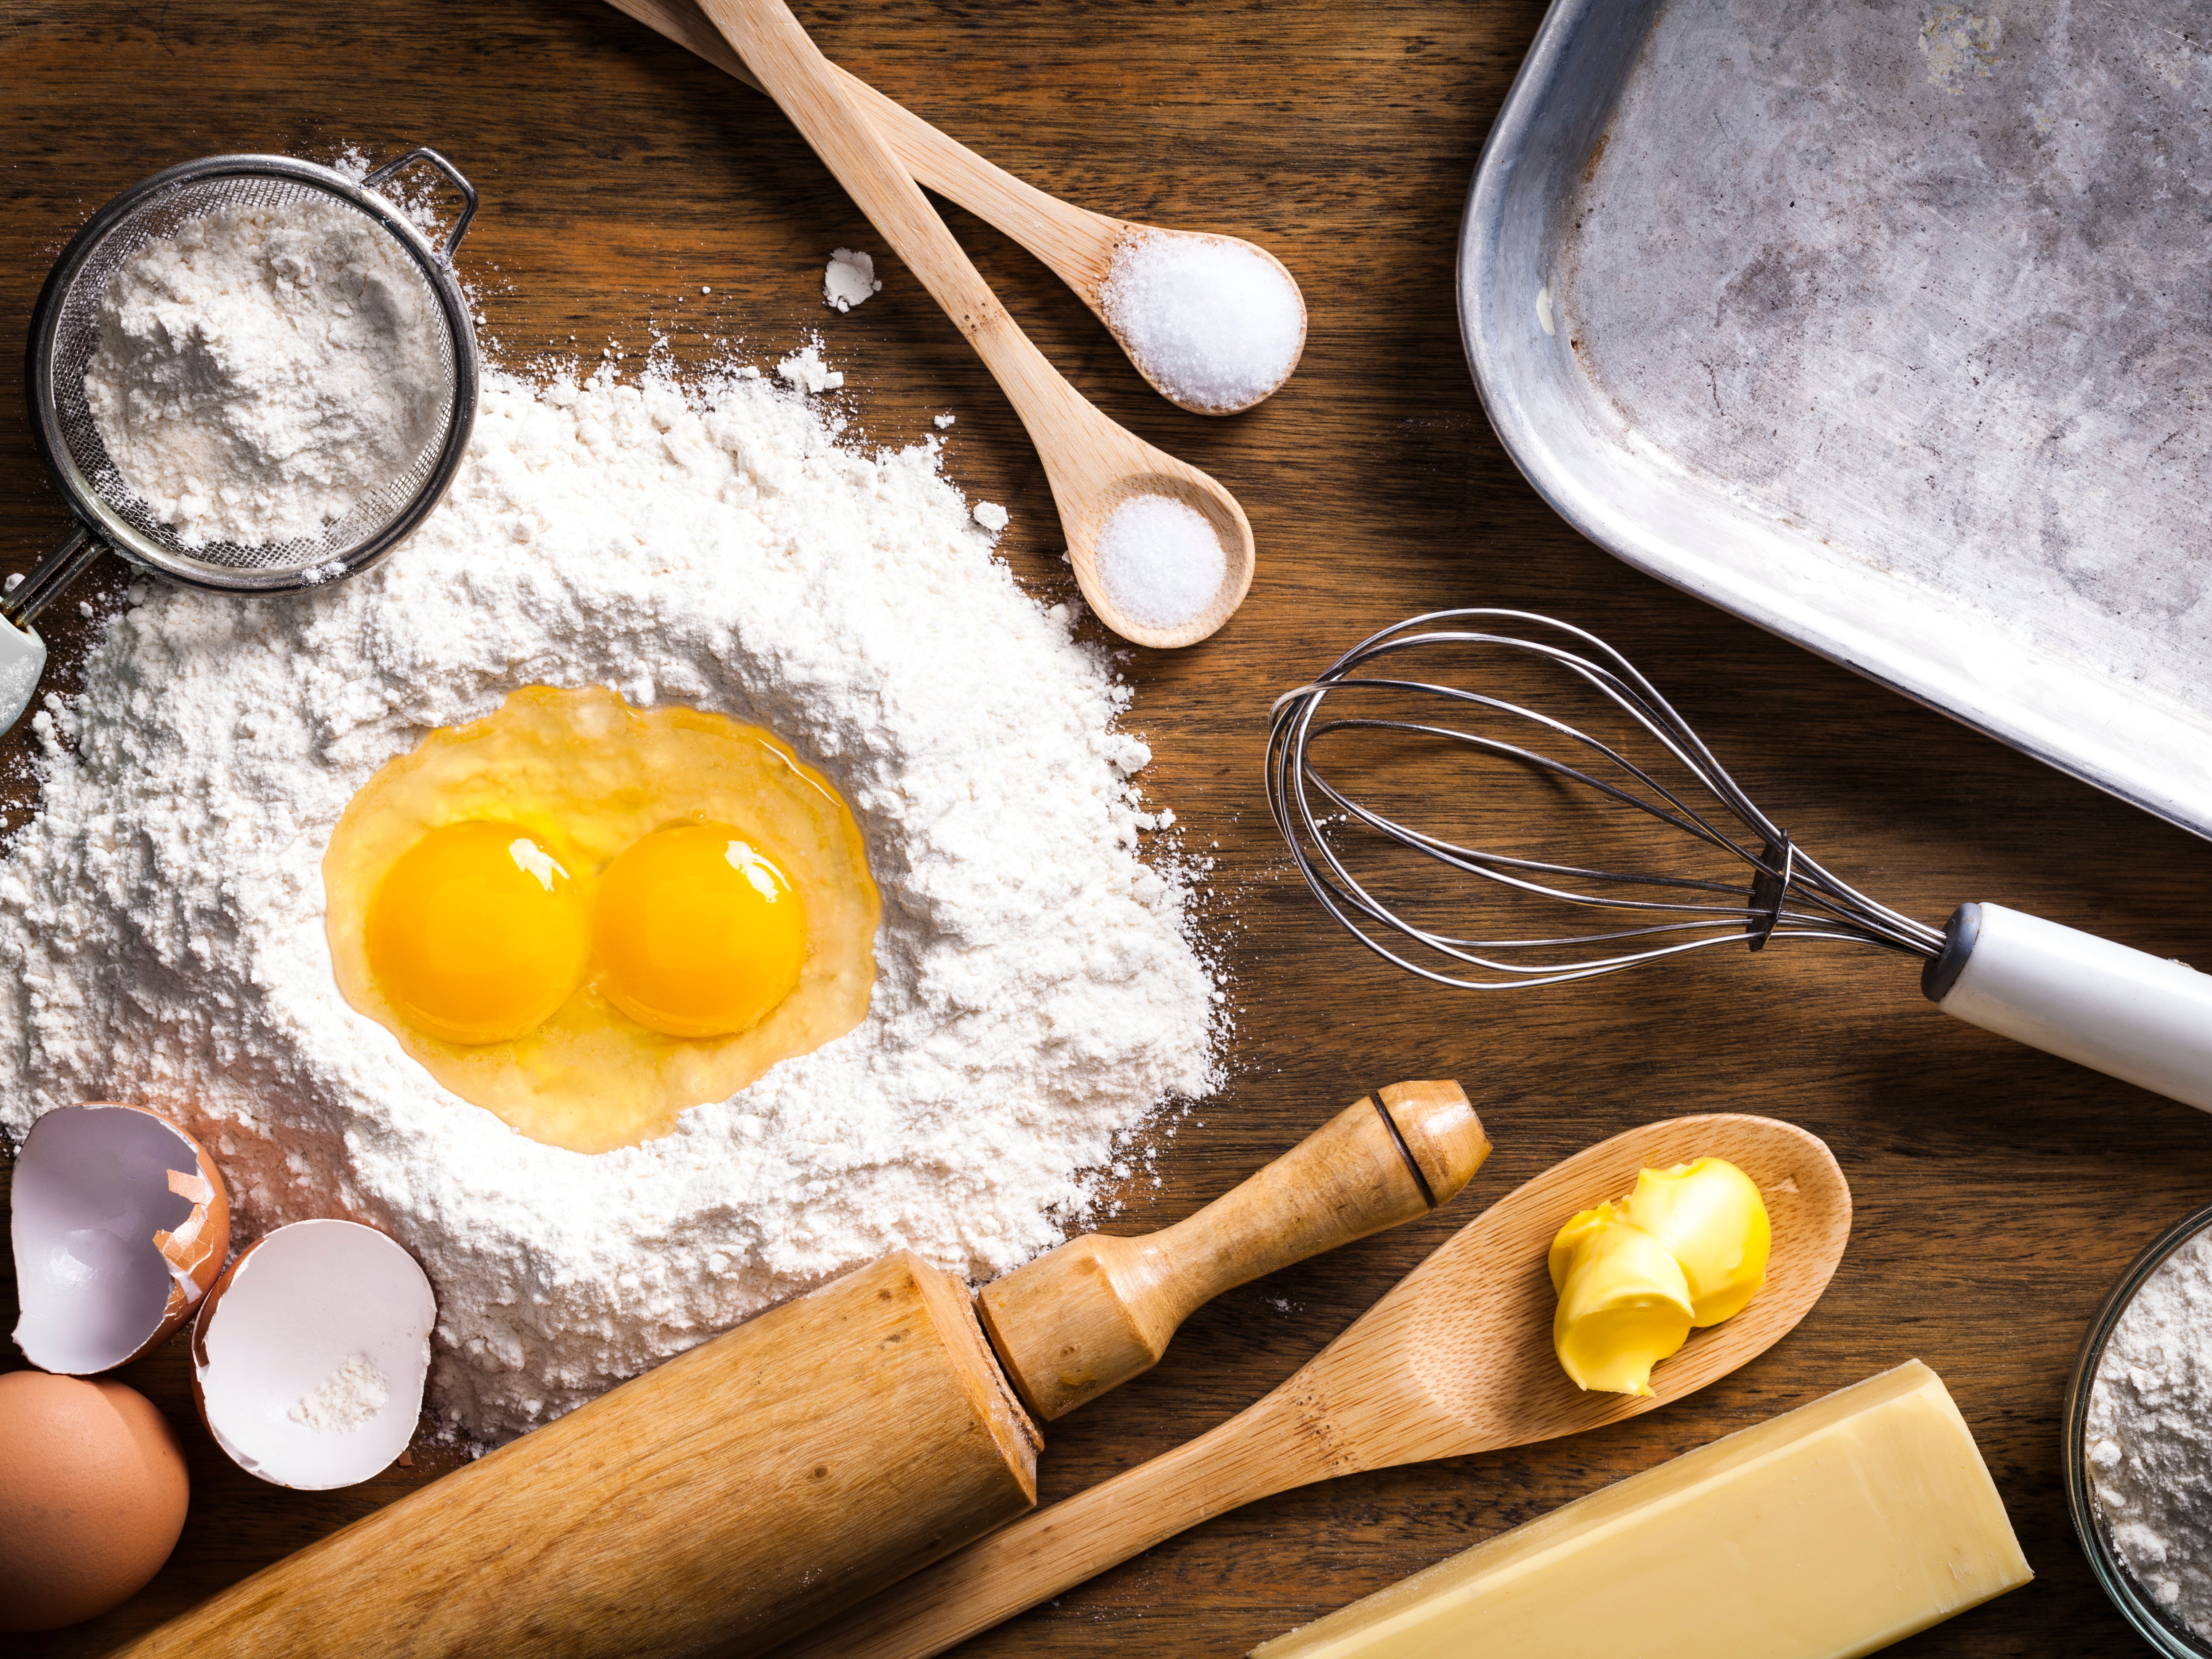
During one trip, I perched on a stool next to her as she cracked eggs and poured sugar into a bowl, all without measuring. She scooped a handful of flour and mixed, and maybe sprinkled in a bit more. When I asked how much she had added, she said, “Oh, just the right amount.” As she slowed her batter-beating, I asked why. She replied, “Because it’s almost ready.”
My aunt’s style of baking by feeling became my goal, as did her ability to feed us effortlessly. Now, when I cook for family and friends, or develop recipes professionally, what drives me is the desire to nourish when all is well, to comfort when things fall apart and to offer hope and joy when everything that rises starts to converge.
That means keeping dishes simple. But simple doesn’t mean boring.
Sometimes, the most delicious form of a dish comes from stripping away excess and fine-tuning the balance. Ease can mean streamlining the steps that require time better spent with those you’re feeding (or that leave you with too many dishes to wash). It’s also about swapping finicky techniques for flexible fail-safe ones.
Baking is often presented as an intimidating science: if measurements aren’t scaled to the gram and precise steps aren’t followed, then an inedible disaster will occur. There’s also an assumption that you need a stand mixer. I love mine the way I imagine I’d love James Bond’s Aston Martin if I owned it. Shiny with a powerful motor, my mixer can do all the fancy things. But it’s not necessarily the best tool for learning the art of baking.
Skipping the mixer and working by hand allows you to experience the tactile joys of the process – and to understand how simple intuitive baking can be. You want a mixer to whip a dozen egg whites into clouds and a food processor to grind nuts into powder, but, to smash a high proportion of butter into flour, as you would for short dough, you want to use your fingers.
Think shortbread. Press it into a tin, and you have a tart crust. Break it into crumbles, throw in nuts and oats, and you get the cookie-meets-granola topping of apple crisp. Squeezing dry ingredients into butter allows you to experience how flour meets fat, to learn how to stop as soon as you feel everything form a sandy, putty-soft dough.
That same knowledge – sensing when dough comes together by feeling and adjusting accordingly – also applies to oatmeal chocolate chip cookies. Oats absorb liquid like a sponge, so a splash of cream in the mix prevents the cookies from drying out. But too much air beaten into the wet ingredients can make the cookies cakey. Mixing with a wooden spoon allows you to fuse the butter and sugars just until creamy and to beat in the egg only until its golden streaks disappear, to feel the resistance of the dough and push harder against stiffer pockets, and to stir in the chocolate and oats with a gentleness no machine can replicate.
The result of this muscle-based mixing? Cookies that manage to be both delicate and sturdy, crisp at the edges and caramel-chewy and tender in the centres.
Making these foolproof sweets – alone, quietly, or with other big or little hands to help – can be a therapeutic experience. There’s pleasure in scraping sticky bits off your fingers, something grounding about working anything other than clacky keys and glassy screens. And if you’re afraid of baking – or just don’t feel like pulling out your mixer – you’ll find confidence and joy in the kitchen with these easy desserts.
Apple crisp
This warm dessert can quickly satisfy sweet tooth cravings, especially if you forgo peeling the apples, which adds a nice chewiness to the crunchy toasted topping and juicy, saucy apples. Choose a variety of apples, then adjust the amounts of sugar and lemon juice to strike the right tangy balance for the filling. Or customise your crisp by using your favourite spices and nuts. The dessert tastes particularly comforting hot out of the oven, with the caramelised apple juices bubbling around the nutty cookie-like clusters, but it’s just as good cold for breakfast the next day.
Makes: 6 to 8 servings
Total time: 1 1/4 hours
Ingredients:
For the topping:
71g all-purpose flour
3 tbsp packed brown sugar
1 tbsp sugar
¼ tsp ground cinnamon, cardamom or nutmeg, or a combination
¼ tsp fine sea salt
84g cold unsalted butter, cut into 1.5cm cubes
116g chopped pecans or walnuts, or a combination
28g old-fashioned rolled oats
For the apples:
1 to 4 tbsp sugar
1 tbsp all-purpose flour
½ tsp ground cinnamon, cardamom or nutmeg, or a combination
¼ tsp fine sea salt
1.4kg apples, preferably firm, with a mix of tart and sweet-tart (8 to 10 apples)
1 to 2 tbsp fresh lemon juice
Method:
1. Make the topping: rub together the flour, both sugars, the spice and salt in a medium bowl. Toss in the butter and nuts to coat, then pinch the butter into the dry ingredients until no floury bits remain. Add the oats, and gently rake and squeeze them through the buttery mixture to form peanut-size crumbles. Freeze while you prepare the apples. The crumb mixture can be frozen in an airtight container for up to 1 month.
2. Prepare the apples: heat oven to 190C. Use 1 tablespoon sugar for all sweet apples; 2 to 3 tablespoons for sweet-tart apples or a mix; and 4 tablespoons for all tart apples. Mix the sugar with the flour, spice and salt in a 25cm cast-iron or other heavy ovenproof frying pan.
3. If you’d like, peel the apples. Cut into 1.5cm chunks, discarding the seeds and cores. Add to the pan and drizzle with 1 tablespoon lemon juice for tart apples and 2 tablespoons for sweet-tart and sweet ones. Mix until evenly coated, then spread in an even layer. Crumble the frozen crisp mixture on top (there will be gaps).
4. Bake until the topping is golden brown, and the apples are tender and bubbling, 45 to 50 minutes. Cool for at least 15 minutes on a rack before serving hot, warm or at room temperature.
Oatmeal chocolate chip cookies
These taste distinctly homemade: much smaller than giant, thick bakery-style disks and more delicate, with just enough buttery dough to bind the chocolate and oats. Mixing by hand turns out cookies that are crisp at the edges and tender in the centres. These can be mixed and baked in under an hour, but the dough balls also can be packed in an airtight container and refrigerated for up to three days, or frozen for up to a month. You can bake them from ice-cold, though they’ll need a few more minutes to turn golden brown.
Makes: 2 to 3 dozen cookies
Time: 40 minutes
Ingredients:
100g all-purpose flour
½ tsp baking soda
½ tsp fine sea salt
114g unsalted butter, softened
94g packed brown sugar
59g sugar
1 large egg, at room temperature
2 tbsp heavy cream or milk
2 tsp pure vanilla extract
134g old-fashioned rolled oats
189g semisweet chocolate chips
63g chopped pecans or walnuts (optional)
Method:
1. Heat oven to 180C. Line 2 large baking trays with parchment paper.
2. Whisk the flour, baking soda and salt in a small bowl. Mix the butter and both sugars in a large bowl with a wooden spoon until creamy. Beat in the egg until incorporated, then stir in the cream and vanilla.
3. Add the flour mixture and gently stir until no traces of flour remain. Add the oats, chocolate chips and nuts (if using), and fold until evenly distributed. Loosely scoop a rounded ball of dough using a measuring tablespoon or small cookie scoop and drop onto a prepared sheet. Repeat with the remaining dough, spacing the balls 5cm apart.
4. Bake, 1 tray at a time, until golden brown, 12 to 14 minutes. Cool on the tray on a wire rack for 1 minute, then transfer the cookies to the rack to cool completely. The cookies will keep in an airtight container at room temperature for up to 5 days or in the freezer for up to 2 months.
© The New York Times
Subscribe to Independent Premium to bookmark this article
Want to bookmark your favourite articles and stories to read or reference later? Start your Independent Premium subscription today.
Join our commenting forum
Join thought-provoking conversations, follow other Independent readers and see their replies