Geminids meteor shower: how to photograph the UK’s shooting stars
There won't be a better time this year to have a go at taking pictures of the night sky — here are our tips for how to get the best snaps of the shooting stars passing over the UK this week
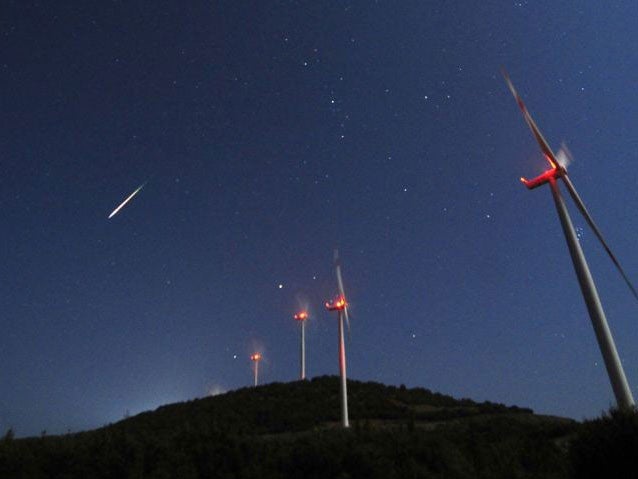
The Geminids meteor shower began passing overhead last weekend, and will continue until the end of the next one. It’s the most spectacular and busy of the meteor showers that pass over the UK, so if you want to try your hand at meteor and night photography it could be the perfect time. Here are our tips for catching as dramatic pictures of the Geminids that you can.
Where and when to go
Many of the same tips for spotting the shower apply to photographing it, too — pick a clear night, with little cloud cover, and try and get away from places with a light pollution.
The shower will be visible from around 10pm, but will get more intense around 2am-3am. They started last weekend, but the best time for photos will be this one, as the moon moves away and allows the light of the stars to shine through.
Unlike other meteor showers, the Geminids tend to fly all across the sky — so shooting as much of it as possible, and using a lens that can capture more of it at once, will maximise the chance of catching a shooting star. But no matter how much of the sky you catch — and despite the fact that as many as 100 meteors shoot over the sky at peak times — you’re unlikely to catch a good picture every time, so keep trying and don’t give up.
What gear to use
You’re likely to need a tripod — especially if you’re hoping to get some long-exposure pictures. If you want to absolutely ensure that you don’t have any camera shake, it’s a good idea to get a remote for your camera — they can be wireless or wired, and can be bought cheaply. Otherwise you can use the timer setting, which will allow you to press the trigger and then step away.
An SLR is best, because you can fiddle with the settings to get the best picture and use a lens that wil get the best photo. But any camera will do — even one in a phone.
Camera settings
You’re likely to either want to limit the exposure — the length of time the camera’s shutter is left open — or to leave it open for as long as possible. The former will mean that you will get a quick picture of the stars, while the latter will capture the trails that shooting stars leave as they fly across the sky.
If you’re looking for a short exposure, the best bet is to use a wide angle lens with a low aperture (the ‘f/’ number), to allow the camera to take in as much light as possible. You can use the ‘A’ or ‘Av’ mode on your camera to choose the maximum aperture and let the light in, or simply use the ‘P’ or program mode, and the camera will do its best to calculate what settings you should use. It’s probably best to set the ISO as low as you can handle, even though that will slow down the exposure — too high an ISO will lead to noise on the picture, which is especially visible against a black background like the night sky.
If you’re looking to get a long exposure, the opposite mostly applies. Choose a low aperture, meaning that the camera must take in more light and the shutter will stay open for longer. Choose a the lowest ISO you can, too, which will do much the same. Using the program or aperture modes on your camera and turning them down will allow you have as long an exposure as you can, without the picture coming out too bright — but if you have a particular length of exposure in mind, you can use the ‘S’ or ‘Tv’ modes, which will allow you to programme in how long you’d like the shutter to stay open for.
In both cases, trial and error will be important in ensuring that you get enough of the stars to make a nice picture, but avoid it being too dark or too light. Taking a picture, having a look at it and then tweaking the settings is likely to be the best bet.
Join our commenting forum
Join thought-provoking conversations, follow other Independent readers and see their replies
Comments
Bookmark popover
Removed from bookmarks