‘River Cottage Handbook No.18: Fermentation’ : Recipes from kombucha cheesecake to sourdough flatbreads
If you made a starter during lockdown, or perfected pickling, try these ideas from the latest River Cottage handbook by Rachel de Thample
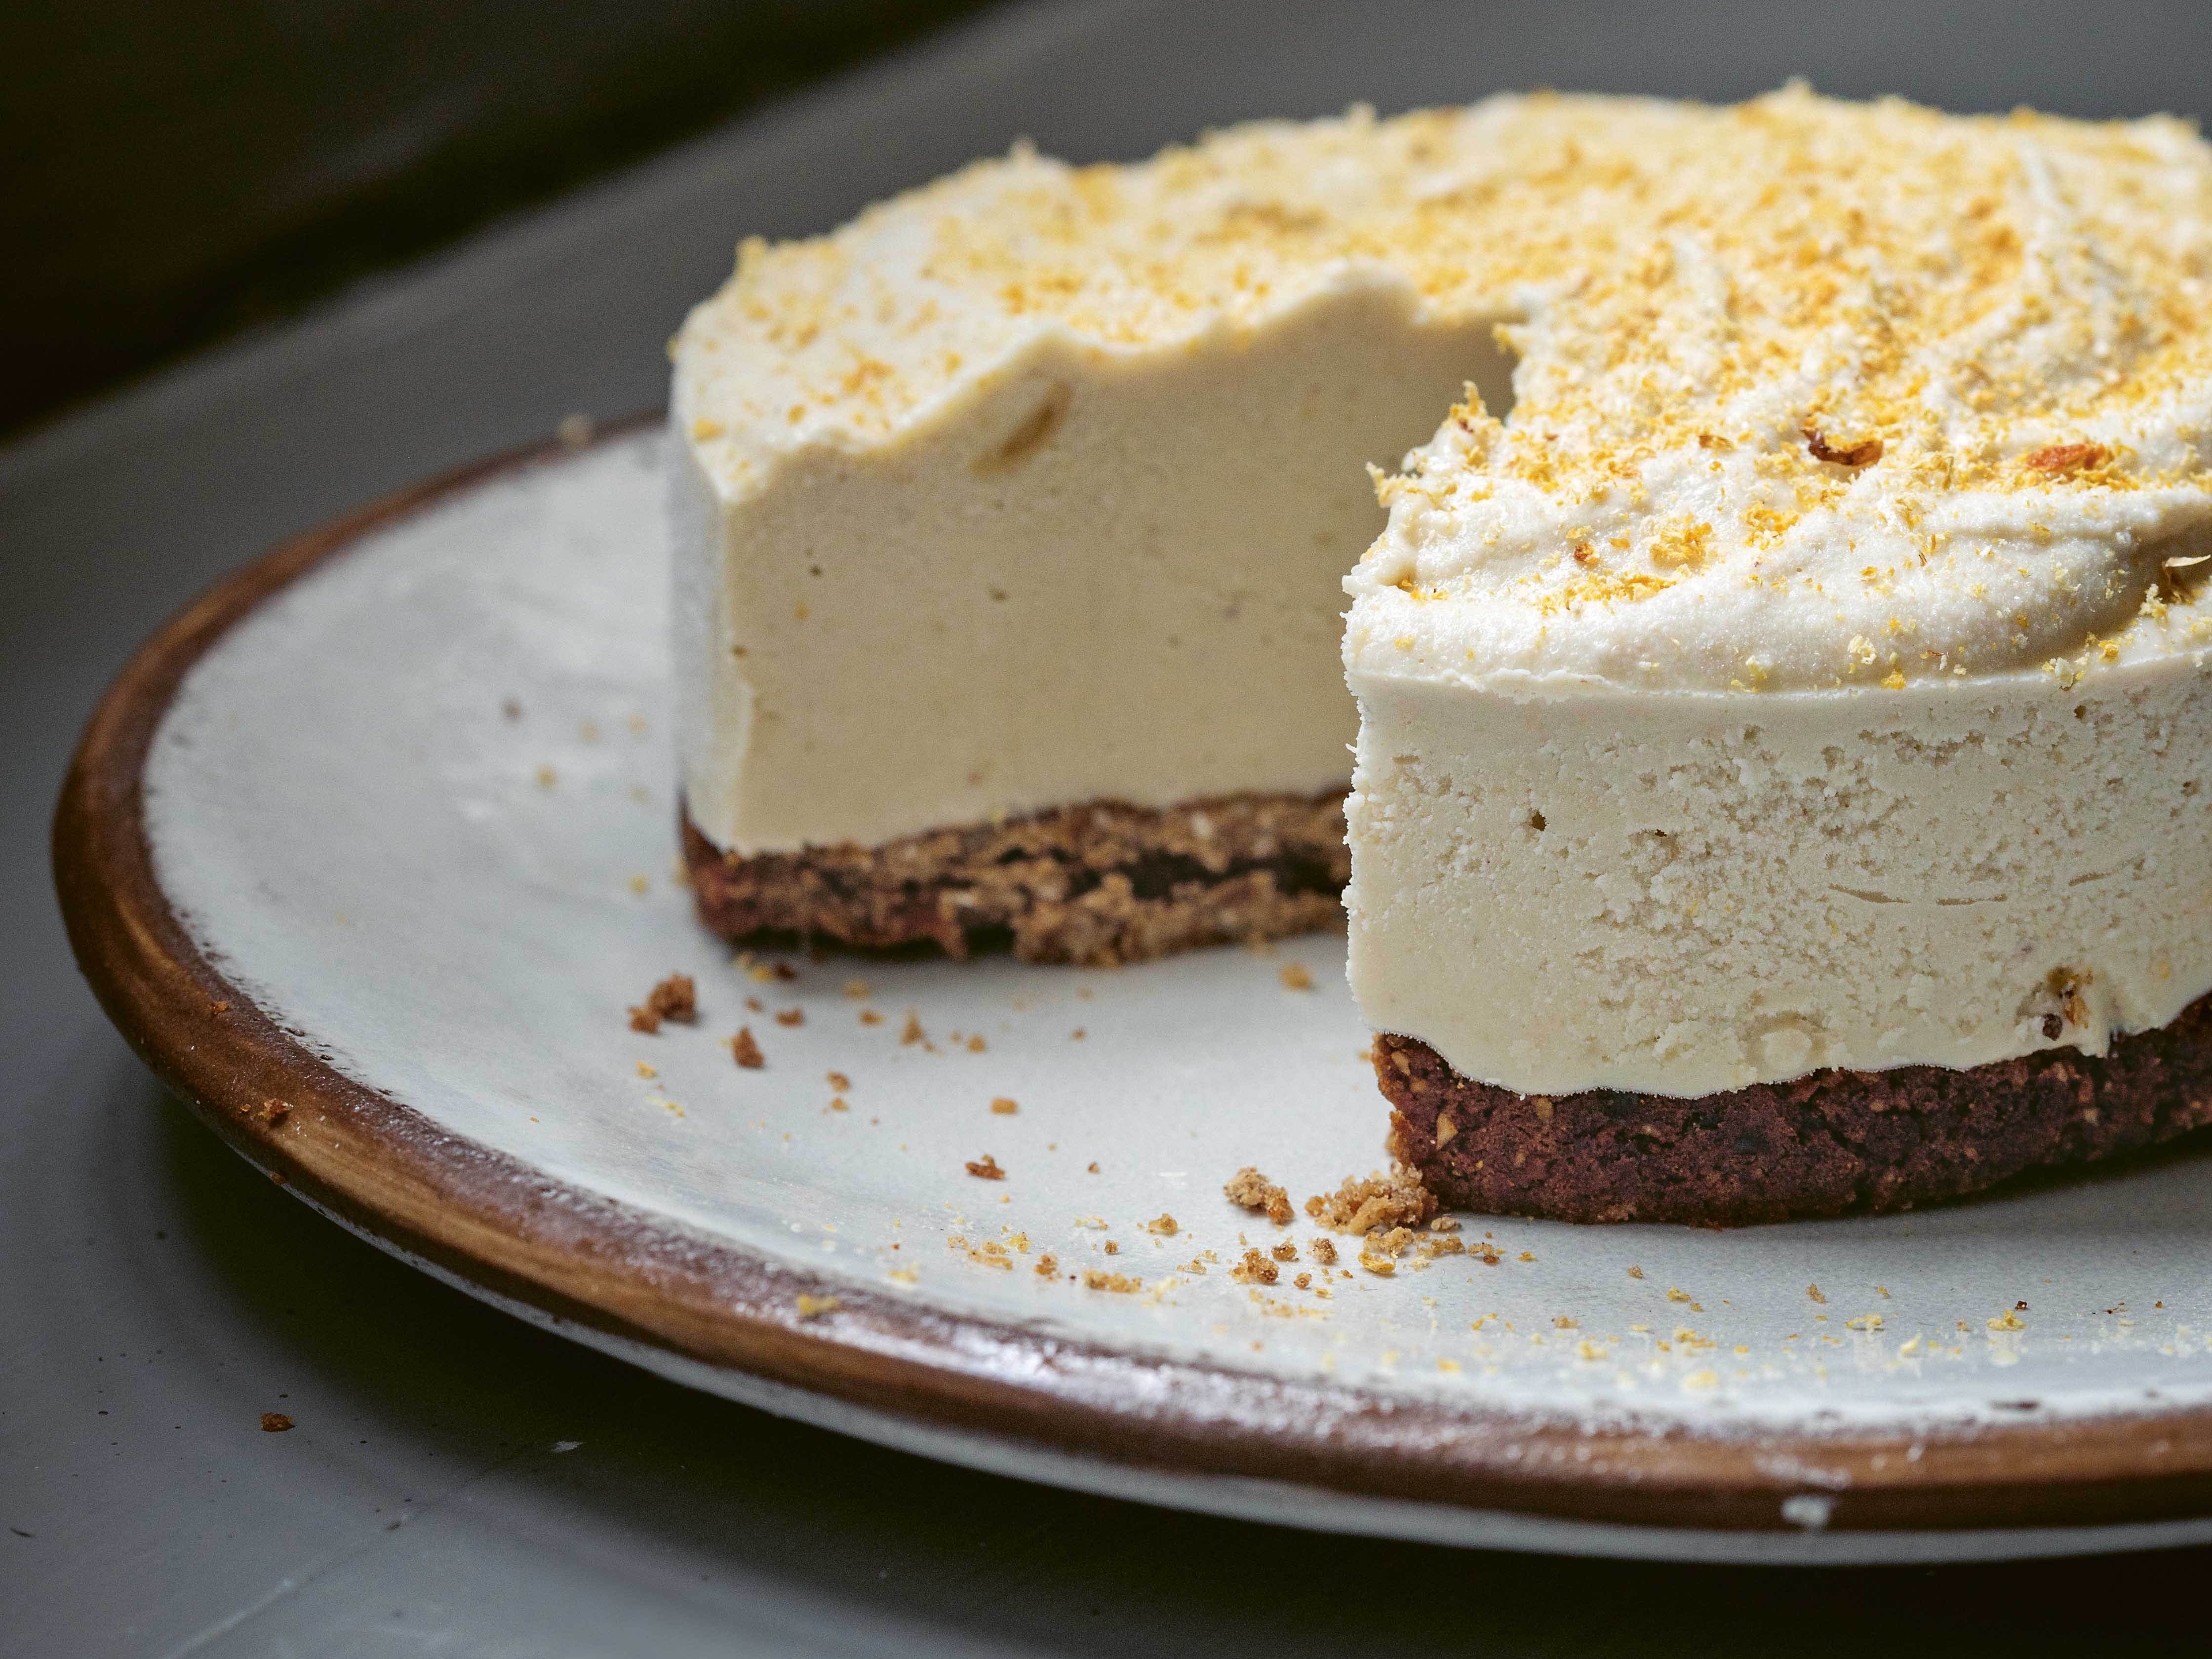
Kombucha cheesecake
I created this lovely vegan cheesecake for our friends at Real Kombucha who supply the River Cottage kitchens with beautiful kombuchas. You can have a lot of fun with different flavours of kombucha in this recipe: try those based on single estate teas, or more seasonal fruity numbers.
Serves 8-10
For the filling
250g cashews or macadamia nuts
About 350ml kombucha
3 tbsp coconut oil
75g coconut milk
100g maple syrup (or honey for a non-vegan cheesecake)
A pinch of sea salt
For the base
50g spelt or buckwheat flour
75g jumbo porridge oats
½ tsp baking powder
A pinch of sea salt
½ tsp ground cinnamon
4 tbsp coconut sugar
2 tbsp maple syrup
50ml olive or coconut oil (or a mix)
50g dried fruit (dates, apricots, raisins, mango and/or figs), chopped
50g chopped nuts, seeds or nut butter, or a mixture
Grated zest of 1 lemon, lime or orange (optional)
You will also need: 20cm cake tin with a removable base
Place the cashews or macadamias in a bowl and cover with the kombucha. Leave at room temperature for six hours to soak, or in the fridge overnight. Once soaked, strain the kombucha from the cashews but keep the liquid so you can add a little to the cheesecake and the topping.
For the base, preheat the oven to 180C/gas 4. Combine the flour, oats, baking powder and salt in a big bowl and mix well. Add the remaining ingredients and mix together until evenly combined.
Press this base mixture into the cake tin to create a 1cm deep base. Bake for 12-15 mins or until golden and firm. Remove from the oven and allow to cool.
Put the drained nuts into a food processor with the coconut oil, coconut milk, maple syrup (or honey) and salt. Blend until smooth, adding 1-2 tbsp of the reserved kombucha, both for flavour and to help bring the mix together into a smooth, creamy filling. You can also add a touch more syrup or honey if needed.
Spoon the filling over the base and return to the fridge for 4-6 hours, or freeze for 30 mins to 1 hour, until set. The cheesecake will keep in the fridge for 4-5 days. (Or freeze for up to 3 months; defrost in the fridge). Serve with seasonal fresh fruit.
Honey-fermented carrot jam
This recipe, with its raisins and spices, is a play on carrot cake. I love it spread on buttered toast but you can serve it with yoghurt, or use it to cap a cream-cheese- frosted carrot cake. You can even add it to a salad based on a grain such as toasted spelt and top with crumbled feta to make a lovely vegetarian dish.
Makes 200g
75g carrots, coarsely grated
1 tsp raisins
1 tsp freshly grated ginger
½ tsp ground mixed spice
2 cardamom pods, seeds extracted and ground
A good grating of orange zest, plus 1 tbsp freshly squeezed juice
75g raw, runny honey
You will also need: A 200g jar with an airtight lid
Fermentation time: 1 week
In a bowl, mix the grated carrots with the raisins, fresh ginger, mixed spice and cardamom. Add as much orange zest as you like (add a little, mix, taste and then add more until your palate leaps for joy). Pack the mix into the jar.
Pour the honey over the carrot mix, so it trickles right down to the bottom of the jar and fully covers the carrots. Stir everything together to mix well. Top up with more honey, if necessary, to ensure there’s a layer of honey covering the carroty mix – but you need to leave a little headspace at the top because this ferment thrives with a bit of air.
Cover with a lid but don’t make it airtight. Set the jar on a small plate to catch any bubbling juices and leave to ferment at room temperature for 1 week.
Transfer the jam to the fridge and store for up to 6 weeks or until ready to eat. Ensure the carrot is always submerged under the honey, which will become runnier over time as the carrot releases its juices.
Sourdough flatbreads
If you are new to fermented breads, this is a brilliant recipe because it’s pretty much fail-proof. To ensure you have 300g activated starter to work with, begin the day before with 2 tablespoons of established starter from the fridge. Add 150g water and 150g strong white bread flour, mix well, cover and leave to ferment at room temperature overnight.
If you’re a seasoned sourdough pro, baking loaves regularly, this is a perfect way to use up excess starter between bakes.
Makes 8 small flatbreads
250g active white sourdough starter (see below)
100-125g strong white bread flour, plus extra for dusting
1 tbsp olive oil, plus extra for kneading and oiling
A pinch of sea salt
2 tsp fennel seeds (optional)
Fermentation time: 1-12 hours
Mix the starter with 100g of the flour, the olive oil, sea salt and fennel seeds, if using. Add more flour if the dough is too wet to handle.
Gloss your hands with a little olive oil and knead the dough for about 1 min until smooth. Divide into 8 pieces and roll each into a ball.
Place the dough balls in a bowl or dish, cover with a tea towel and leave to ferment for at least 1 hour or up to 4 hours at room temperature, or overnight in the fridge.
Roll each ball out on a floured surface until it’s about 14cm in diameter (or the size of a side plate) and about 5mm thick.
Set a large frying pan over a high heat (no need for oil). Cook the flatbreads in the dry pan, one by one, until they’re lightly blistered on one side and just cooked on the other side (letting them blister on both sides tends to dry them out).
Drizzle the cooked flatbreads with a little olive oil on the blistered side and keep them soft by wrapping them in a tea towel while you cook the remaining flatbreads.
The flatbreads will keep, wrapped in the tea towel, for up to 1 day but they’re best eaten straight away.
White sourdough starter
Creating your own starter from scratch is so satisfying. Just mix up some flour and water repeatedly for a couple of days and it will come alive. Bacteria and wild yeasts in the air feed on the natural sugars in the flour, creating bubbles of carbon dioxide that will make your bread rise without the need for added yeast.
Day 1: Put 50g strong white bread flour into a bowl or jar, add 50g filtered water and mix together well to form a thick batter. Cover your container with a cloth and leave at warm room temperature for 24 hours.
Days 2-5: For the next 4 days, at about the same time each day, add 50g flour and 50g filtered water to the starter and mix well. After the final addition, leave it for 24 hours. During these 5 days, wild yeasts and bacteria will slowly multiply within the starter as they feed. Signs of fermentation will be seen after a couple of days – a few small bubbles at first, then a yeasty, mildly sour aroma will develop.
Day 6-7: By now you will have 500g of bubbly starter, alive with a lovely culture of wild yeasts. The starter will be quite acidic at this point (as it will be dominated by the activity of the lactic acid bacteria). To increase the strength of the yeasts that will make your bread rise, it’s necessary to “refresh” it.
To do this, discard about 90 per cent of the starter from the jar – you can use this to make sourdough pancakes or spiced blackberry toast ale . To refresh the remaining 10 per cent (about 1 tablespoon) of the starter, feed it 150g flour and 150g filtered water. After 6-12 hours it will bubble up in the jar and be fully active, smelling fruity and tasting sweet with a mild acidity. A good test for activity is to drop a blob of the starter into a glass of water to see if it floats. If it does, it is active and ready to use.
Storing and feeding your starter: After making a dough, you will be left with the same small amount of starter that you began with (about 4 tbsp). Store this in a jam jar (with the lid on) in the fridge until you’re ready to bake your next loaf. It will happily keep for 2 weeks, without being fed, sometimes longer.
When you take some starter to make a new loaf, make sure you feed the starter left in the jar; if you’ve only got 1-2 tbsp left, add 50g each of flour and water, leave to ferment for a few hours at room temperature then pop the jar back in the fridge.
Activating your starter: For a new loaf, take 4 tablespoons of sourdough starter from the fridge and mix with 150g strong white bread flour and 150g filtered water. Whisk until smooth, cover with a cloth and leave at room temperature for 8-12 hours. This will give you roughly 300g starter. Most recipes require 250g activated starter.
‘River Cottage Handbook No.18: Fermentation’ by Rachel de Thample (Bloomsbury Publishing, £16.99) is out now. Photography by Gavin Kingcome
Join our commenting forum
Join thought-provoking conversations, follow other Independent readers and see their replies
Comments
Bookmark popover
Removed from bookmarks