A week’s worth of autumnal dinner recipes
It’s time for cold weather eating, and this week that means apples and butternut squash in everything from pastas to traybakes, says Emily Weinstein
The weather flipped like a switch last week, and all of sudden we were in autumn. I’m programmed to eat apples and butternut squash as soon as the temperature drops, and this time was no exception: I made a crumble after I went apple picking and brought home a ridiculous (some might say crazy) number of apples.
Everyone in my home will be eating apples for weeks, whether they like it or not. If you, too, went apple picking or are going soon, there’s a good dinner recipe for you below.


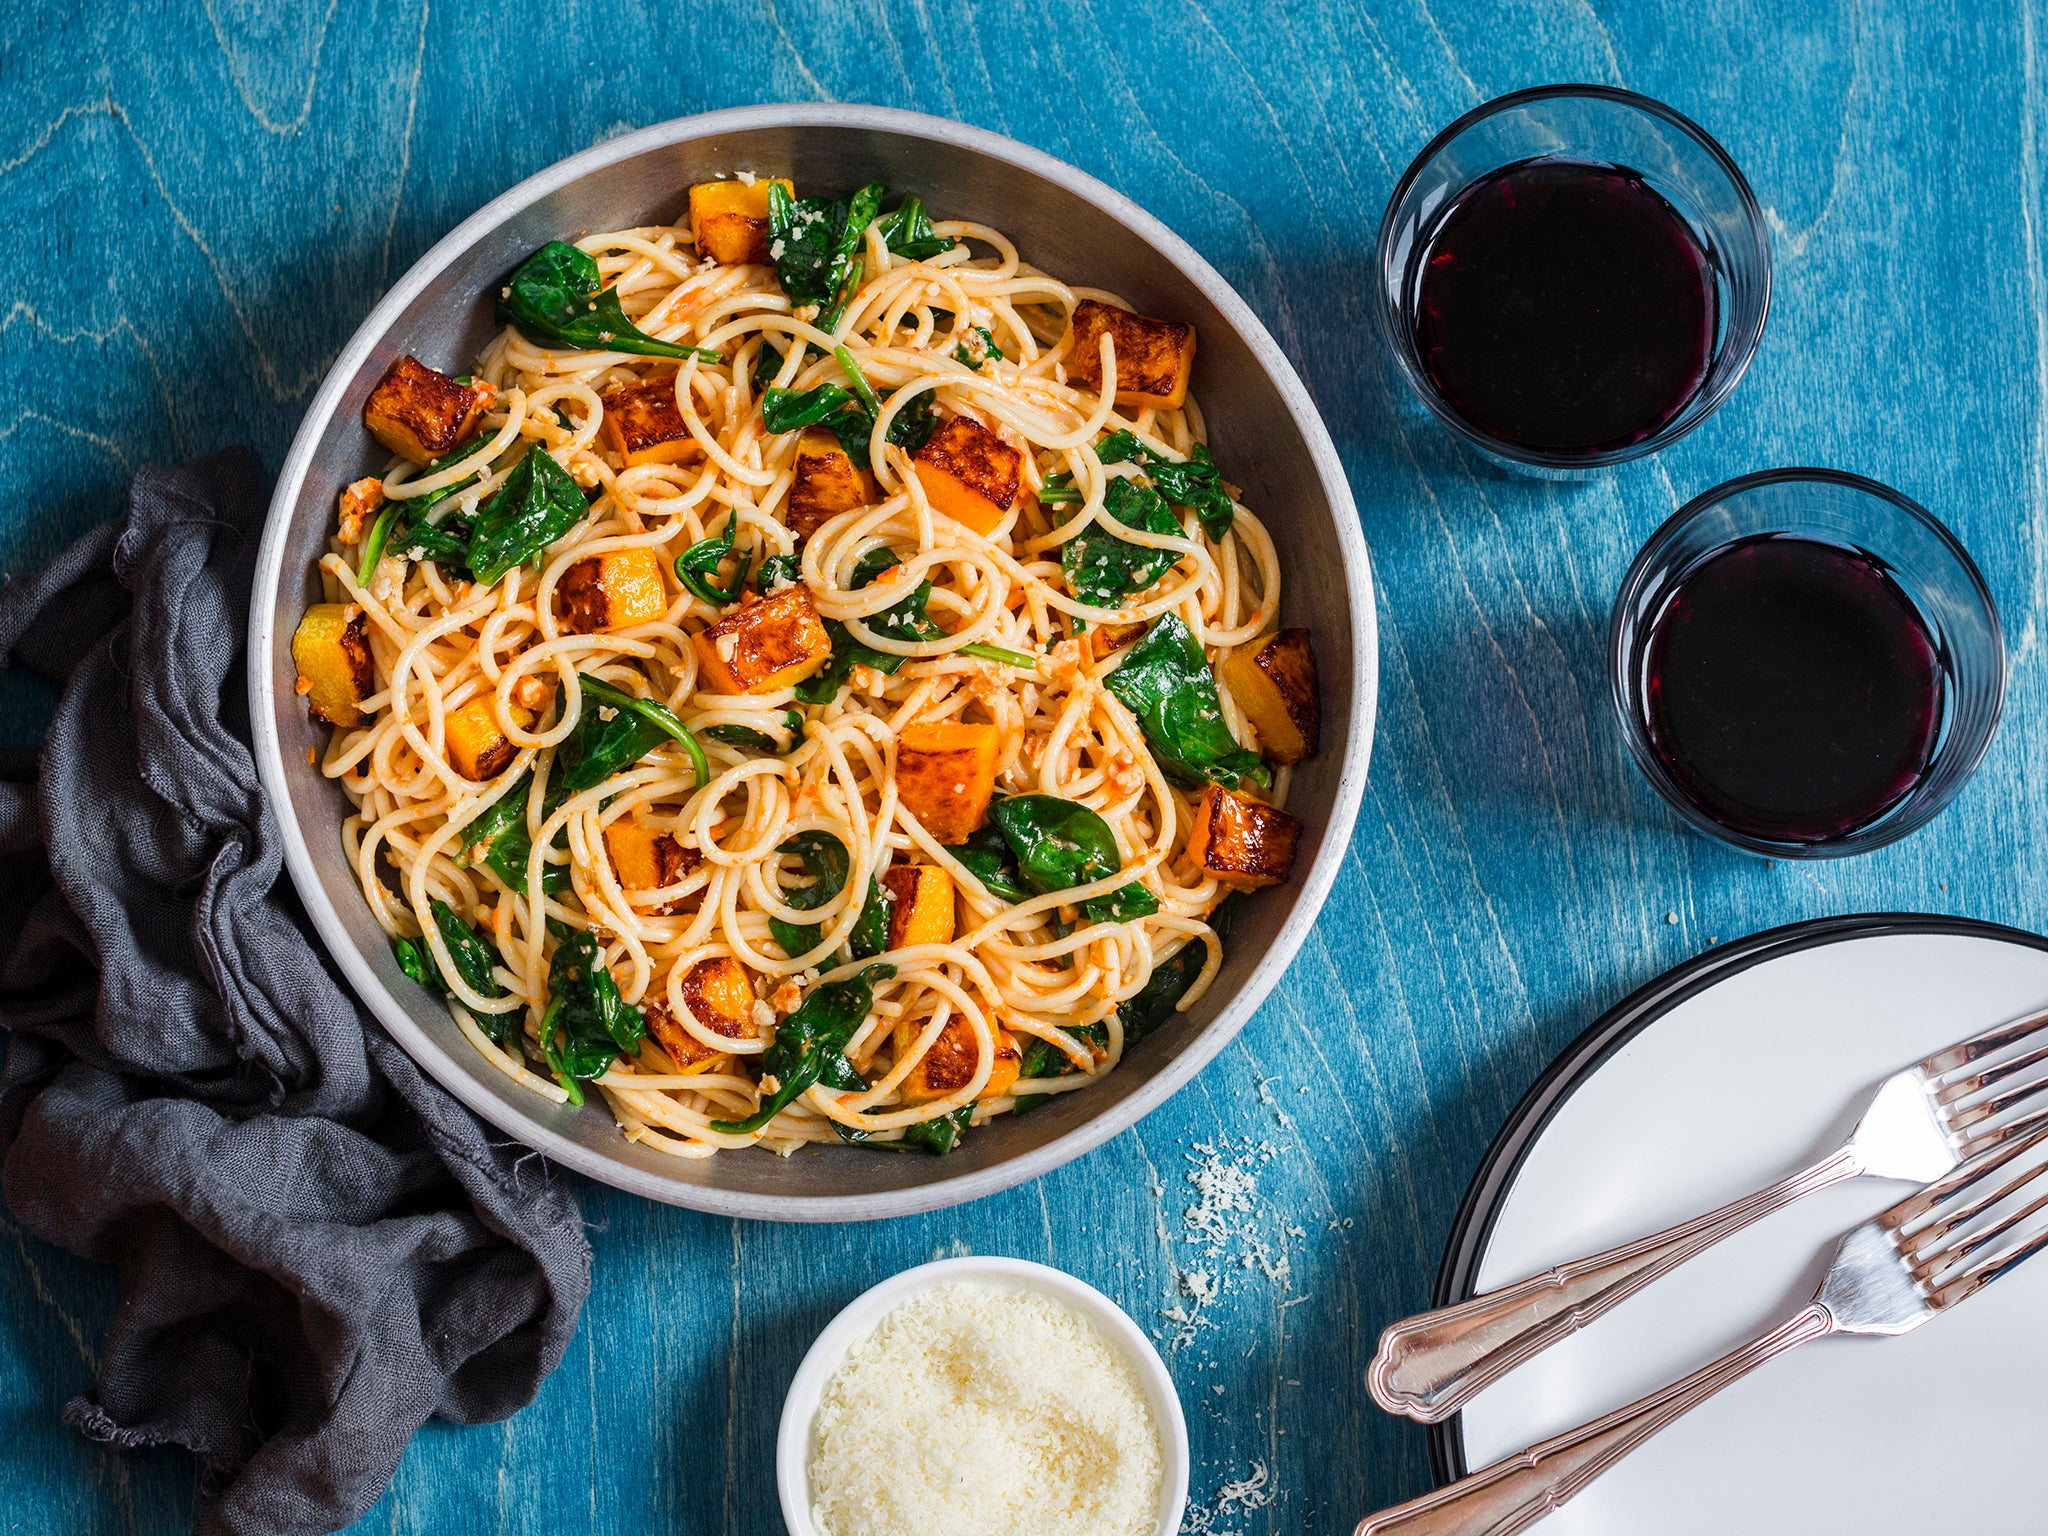
Pasta with butternut squash, kale and brown butter
This pantry pasta turns cold-weather basics – pasta, squash, kale and butter – into something luxurious and deeply flavoured thanks to garam masala, the warming spice mix used in many south Asian dishes like kebabs and curries. But since this is a pantry pasta, you can substitute freely: consider another nutty spice or two, like five spice, turmeric with chilli powder, or cinnamon with crushed fennel seeds. Wholewheat pasta stands up to the squash and spiced browned butter, but regular pasta will work as well. In place of squash, use chickpeas or carrot, and instead of kale, try something else green, like brussels sprouts, broccolini or mature spinach.
By: Ali Slagle
Serves: 4
Total time: 30 minutes
Ingredients:
Salt
1 tbsp neutral oil, such as canola or grapeseed oil
450-680g butternut, honeynut, acorn or delicata squash, peeled if desired, halved, seeded and sliced ½cm-thick crosswise
450g wholewheat spaghetti or linguine
1 bunch cavolo nero, ribs removed, leaves torn or coarsely chopped
6 tbsp unsalted butter, sliced
1¼ tsp garam masala
½ teaspoon red-pepper flakes, plus more as needed
1 teaspoon finely grated lemon zest plus 2 tbsp juice (from 1 lemon), plus more juice as needed
Grated parmesan, for serving
Method:
1. Bring a large pot of salted water to a boil. Meanwhile, in a large casserole dish or frying pan, heat half the oil over medium-high. Add half the squash in a single layer, season with salt and cook, undisturbed, until browned underneath, 3 to 5 minutes. Scoot the squash to the side of the pot, piling it up as needed to make room, then add the remaining oil. Arrange the remaining squash in a single layer, season with salt and cook until browned, 3 to 5 minutes (if there’s not enough room for the second batch, remove the browned squash to a plate while you cook the rest).
2. When the water comes to a boil, add the pasta and cook according to package directions until al dente. During the last 3 minutes of the cooking, add the kale. Reserve 1 cup of the pasta water, then drain the pasta.
3. When all the squash is browned, return all the squash to the pot, if you set any aside while cooking the second batch. Reduce the heat to medium-low, add the butter and stir with the squash until the butter is golden, nutty smelling and foaming, 1 to 4 minutes (if you’re using a dark pot, it can be hard to tell if the butter’s browned, so spoon some of the butter on the squash to see if the butter’s speckled brown). Turn off the heat, add the garam masala and red pepper flakes, and stir until fragrant, about 1 minute. Add 1 tbsp of cold water (or an ice cube) and toss gently to stop the cooking, then set aside until the pasta is ready.
4. Add the pasta and ½ cup pasta water to the squash mixture. Set over low heat and toss gently until the pasta is glossed with sauce (some squash pieces might break apart, which can be a good thing: better disbursement through the pasta). If the pasta looks dry, add more pasta water as needed. Remove from heat and stir in the lemon zest and juice. Season to taste with more lemon juice, red-pepper flakes and salt. Top with grated parmesan.
One-pan chicken thighs with coconut creamed corn
If it’s possible to upstage crispy-skinned chicken thighs, the coconut creamed corn in this dish comes close. The sweetness of caramelised corn and coconut milk is balanced by the brightness of the ginger, chilli, spring onions and lime. As the corn simmers, the browned chicken thighs finish cooking right on top, so the flavours meld and deepen. It’s a complete summery meal in one pan, although you can make it anytime. Just use frozen corn. Garnish it with coriander, chives, fried shallots or coconut flakes, and serve it with a green side. If you feel like it, you could use prawns instead of chicken.
By: Ali Slagle
Serves: 4
Total time: 35 minutes
Ingredients:
900g bone-in, skin-on chicken thighs (4 to 6 pieces)
Salt and black pepper
1 tbsp extra-virgin olive oil
750g fresh or frozen corn kernels (from about 7 ears)
3 spring onions, thinly sliced, white and green parts separated
1 (5cm) piece fresh ginger, peeled and finely grated or chopped
3 garlic cloves, peeled and finely grated or chopped
1 serrano chilli or chipotle in adobo, finely chopped, or ½ tsp red-pepper flakes
1 (425g) tin full-fat coconut milk
1 lime, cut into wedges
Method:
1. Pat the chicken dry, and season with salt and pepper. Drizzle the olive oil in a large (30cm) pan. Add the thighs, skin-side down, and set over medium heat (it’s OK if they’re slightly squeezed in the pan; as the fat renders, they’ll shrink). Cook, undisturbed, until the skin is deep golden brown, and the thighs release easily from the pan, about 15 minutes (if your stove is getting splattered with oil, cover the pan). Transfer the chicken, skin-side up, to a plate. Reserve the pan and fat.
2. Increase the heat to high, add the corn, spring onion whites, ginger, garlic and serrano. Season with salt and pepper and cook until the corn starts to brown in spots, 2 to 3 minutes, adding an extra minute or two if using frozen corn.
3. Reduce heat to medium, add the coconut milk, scrape up any browned bits from the pan and season with salt and pepper. Put the chicken on top of the corn mixture, skin-side up. Simmer until the coconut milk is slightly thickened and the chicken is cooked through, 7 to 10 minutes (if your corn has reduced too much before your chicken is done cooking, just add a few tbsp of water or chicken stock).
4. Serve with a squeeze of lime and reserved spring onion greens on top.
Gochujang-glazed aubergine with fried spring onions
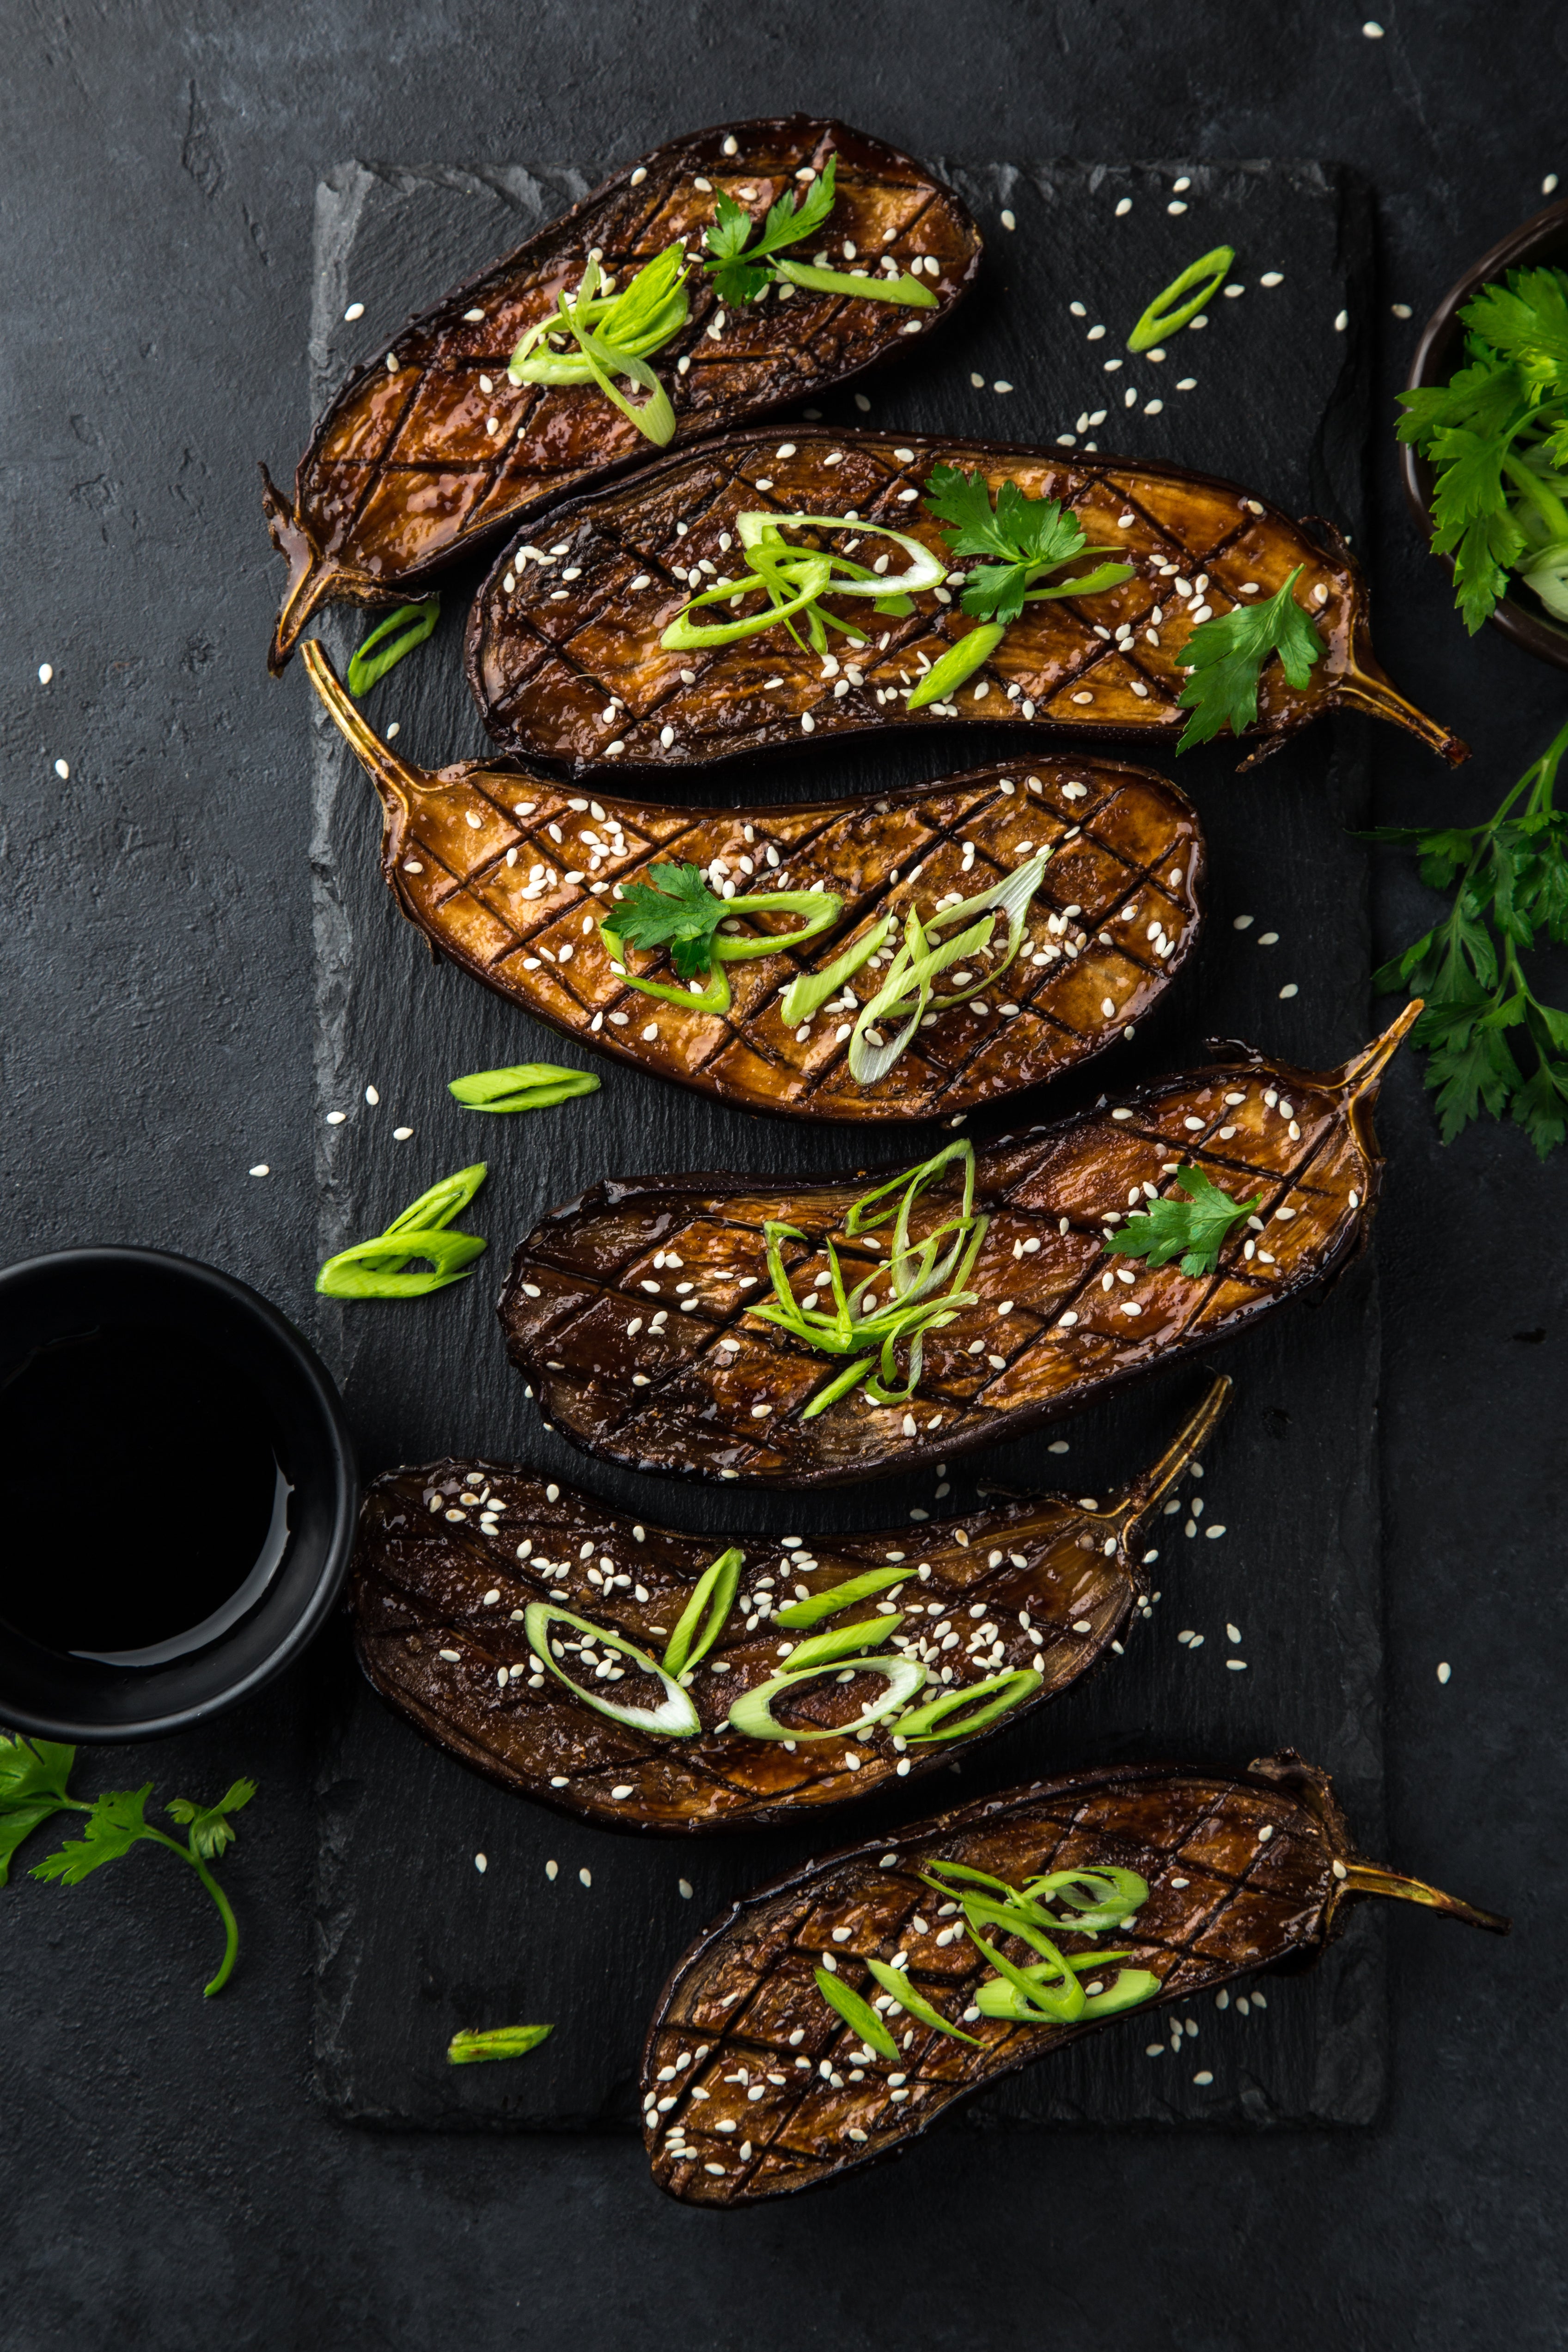
Loosely inspired by the Korean banchan gaji bokkeum (stir-fried aubergine), this recipe keeps the aubergine in large pieces and sears it over high heat, yielding beautifully cooked flesh and still-violet skin. Though gaji bokkeum is traditionally soy sauce-based, my mother uses gochujang, the fermented Korean chilli paste, for added sweetness and heat. The result is divine: as the sticky red sauce clings to the fried aubergine spears, it caramelises in the heat of the pan and provides a glossy finish. The real star of this dish, though, is the spring onion oil. The tangle of thinly sliced spring onions crisps in olive oil, lending its oniony flavour to the oil, which is then used to cook the aubergine. This dish is salty, spicy and sweet – everything you want in a banchan – and tastes great with a bowl of fresh white rice.
By: Eric Kim
Serves: 4 to 6
Total time: 45 minutes
Ingredients:
450g Asian aubergine (about 3 large; preferably Korean, or Chinese or Japanese), halved lengthwise and cut into 10-12cm segments
1 tsp salt
2 tbsp gochujang
1 tbsp soy sauce
2 packed tsp dark brown sugar
1 tsp toasted sesame oil
2 garlic cloves, finely grated
120ml olive oil
4 spring onions, trimmed, cut into 7½cm segments, then very thinly sliced lengthwise, white and green parts separated
Method:
1. Place the aubergine in a colander set inside a large bowl or the sink. Sprinkle with the salt, toss to combine and let sit for 30 minutes to remove excess moisture.
2. Meanwhile, in a small bowl, add the gochujang, soy sauce, brown sugar, sesame oil and garlic. Whisk to combine, then set aside.
3. To a large nonstick frying pan, add the olive oil and the white parts of the spring onions. Turn the heat to medium and fry the spring onions, stirring often, until crispy and evenly browned, about 8 minutes. Using a slotted spoon, transfer the fried spring onions onto a paper towel.
4. Reserve a small handful of raw spring onion greens for garnish, then fry the remaining spring onion greens in the oil until crispy and lightly browned, 3 to 5 minutes. Transfer fried spring onion greens onto a paper towel.
5. Remove the pan from the heat and carefully pour the hot spring onion oil into a glass container or measuring cup.
6. After the 30 minutes of salting, dry the aubergine segments with a paper towel. Place the pan over medium-high heat and add 2 tbsp of the reserved spring onion oil.
7. When the oil starts to shimmer and you see a wisp of smoke, add half the aubergine, cut sides down, and fry until browned and starting to soften, 2 to 3 minutes. Flip once and cook another minute on the other side. Transfer to a plate, add 2 more tbsp of spring onion oil back to the pan, and repeat to fry the second batch of aubergines (if you are lucky enough to have any spring onion oil left, use it to fry eggs or to dress a salad).
8. Finally, sauce the aubergines: add the first batch of aubergines back to the pan alongside the second batch. Reduce the heat to medium-low and pour the reserved gochujang sauce over the aubergines. Toss until evenly coated and the gochujang starts to caramelize, about 1 minute.
9. Plate the aubergines on a large platter and garnish with the fried spring onions and the reserved raw spring onion greens. Serve immediately. (To store for later, transfer to a resealable container and keep in the refrigerator for 3 to 5 days. This dish tastes great cold, straight out of the fridge, or at room temperature.)
Traybake sausages with caramelised shallots and apples
In this rustic traybake dinner, apples and shallots roast slowly alongside pork sausage, becoming fragrant and caramelised in the process. A quick toss with wholegrain mustard and apple cider vinegar adds a savoury edge, making the apple and shallot mixture almost reminiscent of chutney. This recipe works equally well with both sweet and hot pork sausage, as well as any crisp apples, though a mix of red and green apples looks particularly nice. Serve with French green lentils and a green salad, with plenty of Dijon mustard on the side.
By: Lidey Heuck
Serves: 4
Total time: 50 minutes
Ingredients:
6 shallots, trimmed on both ends and peeled (about 170g)
2 crisp apples (preferably one tart, like Granny Smith, and one sweet, like Fuji)
1 tbsp olive oil, plus more as needed
Salt and black pepper
450g sweet or hot Italian sausages
3 fresh rosemary sprigs
1 tsp wholegrain mustard
1 to 2 tsp apple cider vinegar, to taste
Chopped fresh parsley, for serving (optional)
Method:
1. Heat the oven to 220C. Cut the shallots lengthwise into 1½cm-thick wedges. Core the apples and cut into 1½cm-thick wedges. Place the shallots and apples on a baking tray, drizzle with the 1 tbsp olive oil, sprinkle with salt and pepper, and toss to coat. Roast the mixture for 10 to 15 minutes, until the shallots are just starting to brown at the edges.
2. Meanwhile, place the sausages on a plate. Using a fork, prick a few holes in each sausage. Drizzle the sausages with olive oil and toss to coat.
3. Add the rosemary and mustard to the pan with the apples and shallots, and toss, spreading everything out into one even layer. Arrange the sausages on the pan, evenly distributed, and roast for 25 to 30 minutes, flipping the sausages and tossing the apples and shallots with the juices released from the sausages halfway through, until the sausages are browned and cooked to 70C and the shallots are tender and caramelised.
4. Transfer the sausages to a serving platter and discard the rosemary sprigs. Pour the vinegar over the apples and shallots, and toss well, scraping up any browned bits from the pan. Transfer to the serving platter with the sausages, sprinkle with parsley, if using, and serve immediately.
Salmon soba with ponzu-spring onion sauce
Quick-cooking, earthy soba, made entirely from buckwheat or a combination of buckwheat and wheat flour, are perfect for easy weeknight dinners and can be enjoyed either chilled or in warm dishes. In this speedy noodle soup, dashi powder – an instant soup stock made from dried powdered bonito (skipjack tuna) that functions similarly to bouillon cubes – and subtly sweet cabbage help create a flavourful broth quickly. Salmon is thinly sliced and poached in the broth just before serving. A tangy and vibrant ponzu-spring onion sauce balances the rich fatty fish, while grated daikon adds freshness, texture and a subtle bite.
By: Kay Chun
Serves: 4
Total time: 25 minutes
225g Napa cabbage, chopped into 2½cm pieces
2 tbsp instant dashi powder (such as Hondashi, see tip)
Salt and black pepper
340g dry soba
100g thinly sliced spring onions
3 tbsp ponzu
2 tbsp neutral oil, such as safflower or canola oil
1 tsp minced fresh ginger
225g firm tofu, cut into 1½cm cubes
450g centre-cut skinless salmon fillet, halved down the centre and each piece sliced crosswise ½cm thick
225g daikon, peeled and finely grated
Method:
1. In a large pot, combine cabbage, dashi powder and 2L of water, and bring to boil over high heat. Partially cover, reduce heat to medium and simmer, stirring occasionally, until cabbage is tender and flavours have melded, about 10 minutes. Season with salt and pepper to taste.
2. Meanwhile, bring a separate pot of water to a boil and cook soba according to package instructions. Drain and run under cool water to remove excess starch and to stop the cooking. Drain well and divide soba among 4 bowls.
3. In a small bowl, mix spring onions with ponzu, oil and ginger and set aside. Once cabbage is tender, add tofu and bring broth back to a gentle simmer. Reduce heat to low and arrange salmon slices on top so that they’re slightly overlapping and just covered by the broth. Cover and cook until salmon is just opaque throughout, 1½ to 2 minutes (the fish will continue to cook off the heat).
4. Divide broth and salmon among the 4 bowls. Top each serving with some of the grated daikon and spoon some of the ponzu-spring onions sauce over the fish and broth. Serve warm with any remaining ponzu-spring onion sauce on the side.
Tip: Dashi powder instantly adds depth, umami and smokiness, but a small piece of dried kelp can work as a substitute in a bind (just discard it once the broth is done). The Hondashi brand is widely available in Asian supermarkets or online.
© The New York Times
Join our commenting forum
Join thought-provoking conversations, follow other Independent readers and see their replies
Comments
Bookmark popover
Removed from bookmarks